
In Magento 2 “Tax Rules” combine three elements: product class, customer class, and tax rate. Each of your products will be assigned to a specific product class, similarly, each customer will be assigned to a given customer class. The Tax Rule takes the defined tax rate and applies it to a combination of the product and customer classes, so the appropriate tax based on the above-mentioned classes and the region (shipping address/billing address of the customer or shipping origin) could be calculated. This is why configuring “Tax Rules” is important when it comes to applying taxes to purchases for which taxes are relevant.
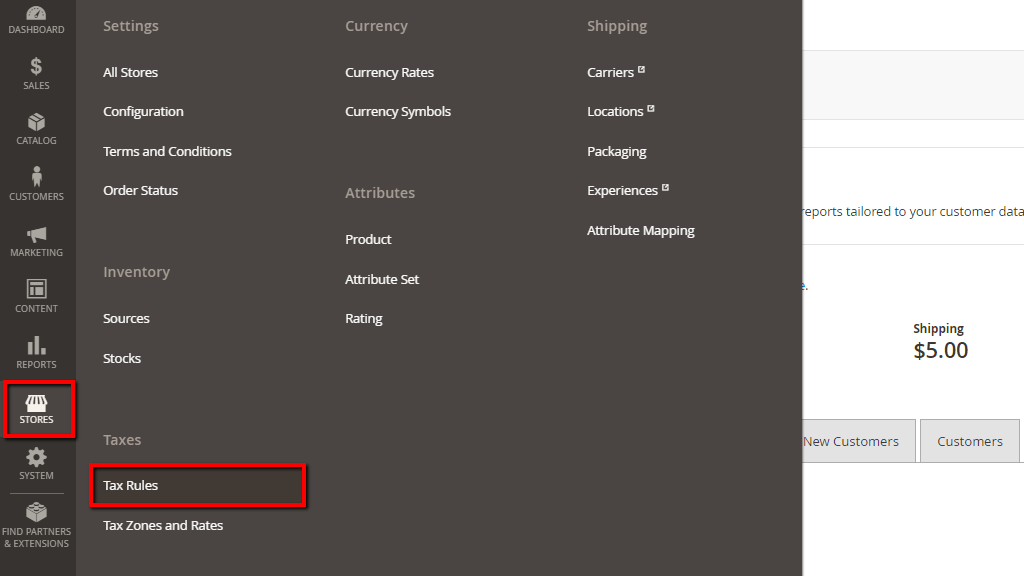
In order to being, please log in to your Magento Admin Dashboard and navigate through the left menu bar to Stores > Tax Rules.
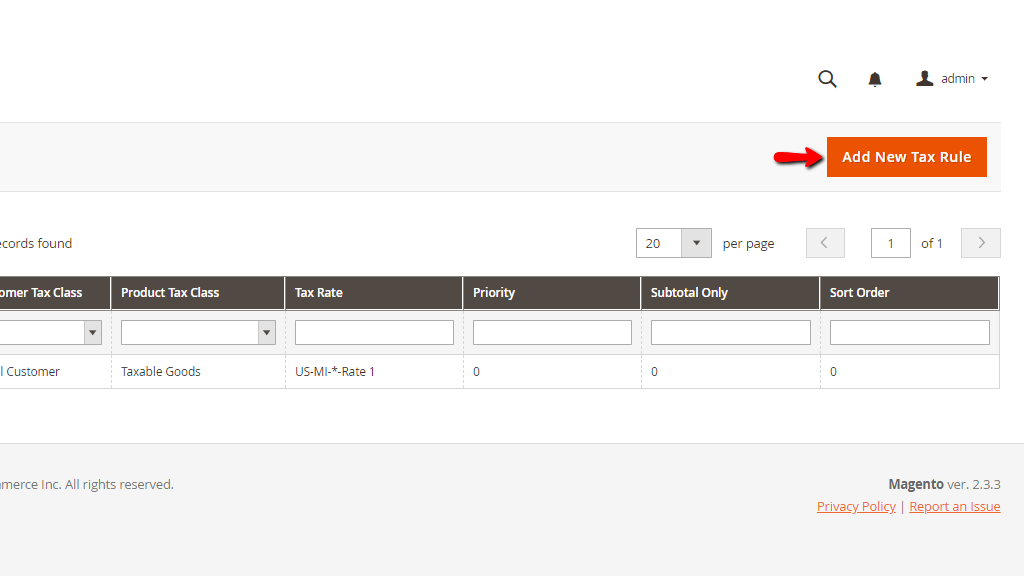
The “Tax Rules” page is where you will be able to manage your existing tax rules and create new ones. You will notice that at this point there are no available tax rules, therefore you will not be able to charge taxes on your store. Now, let’s review how to add your first tax rule.
In order to add a tax rule, please click on the “Add New Tax Rule” button positioned at the top right corner of the page.
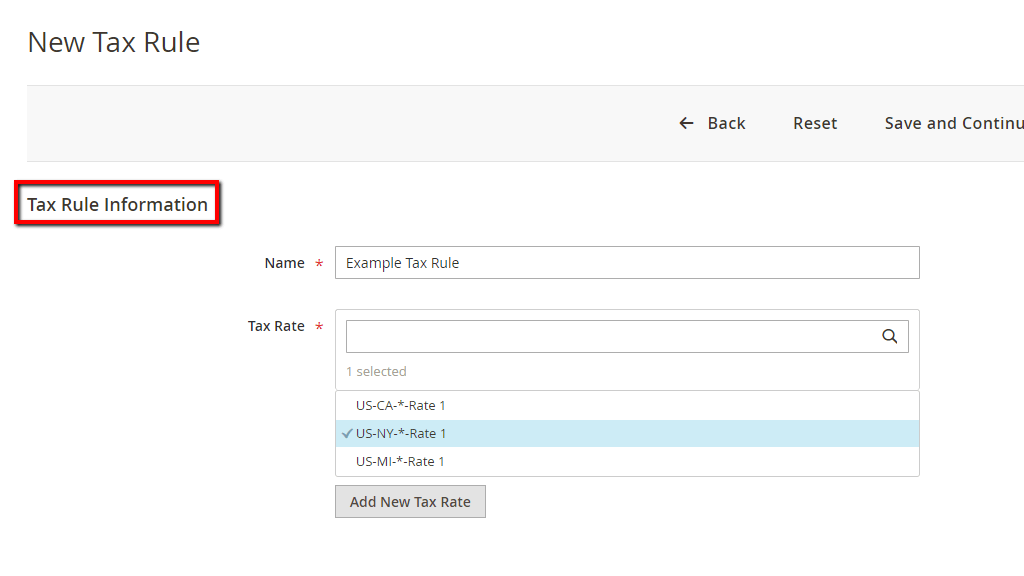
Once you do that, you will be redirected to the “New Tax Rule” page where you will first need to fill the Tax Rule Information.
Now, let’s review the first section of the page and explain what information you need to define in each of the fields.
Please, specify the following:
Note that you are able to edit the existing tax rates on the fly by hovering over them and clicking on the “Pencil” icon. Additionally, if needed you can add new tax rates by clicking on the “Add New Tax Rates” button and filling the required information.
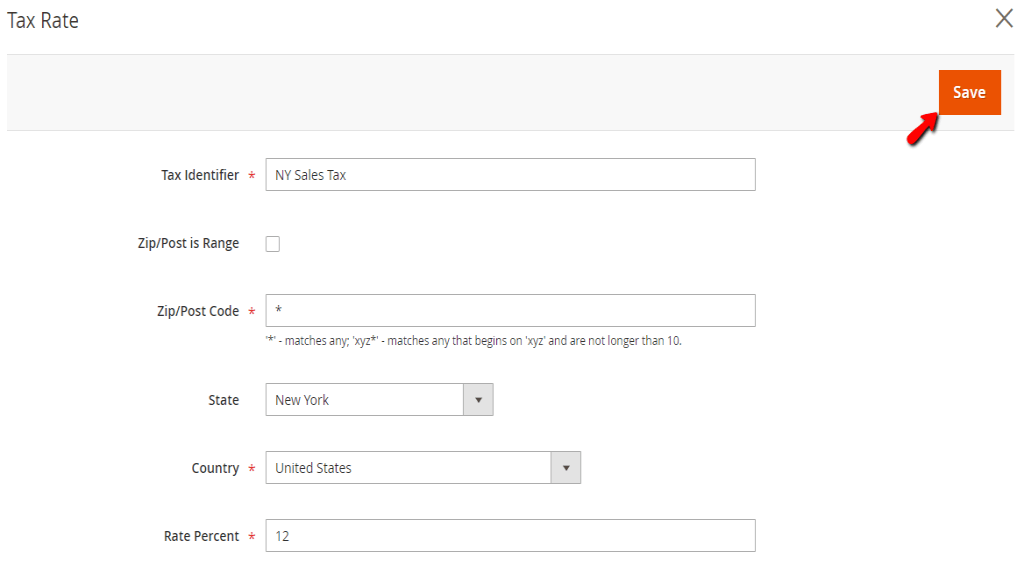
You will need to specify the name of the Tax rate under the “Tax Identifier” field. Select the country, the state and Zip/Post codes applicable to the rate. Please note that the “*” sign can be used as a wildcard, meaning it will stand for all states in the selected country or all Zip/Post Codes in the selected state. You can also set a Zip/Post code range, for example, “100*” will apply the rate for all codes starting with 100. In the last field, please enter the tax rate percentage value. Finally, please make sure to click on the “Save” button and your new rate will be successfully added.
Next, you will need to configure the additional settings of the Tax Rule. Please click on the arrow next to “Additional Settings” to expand the section and display all its settings.
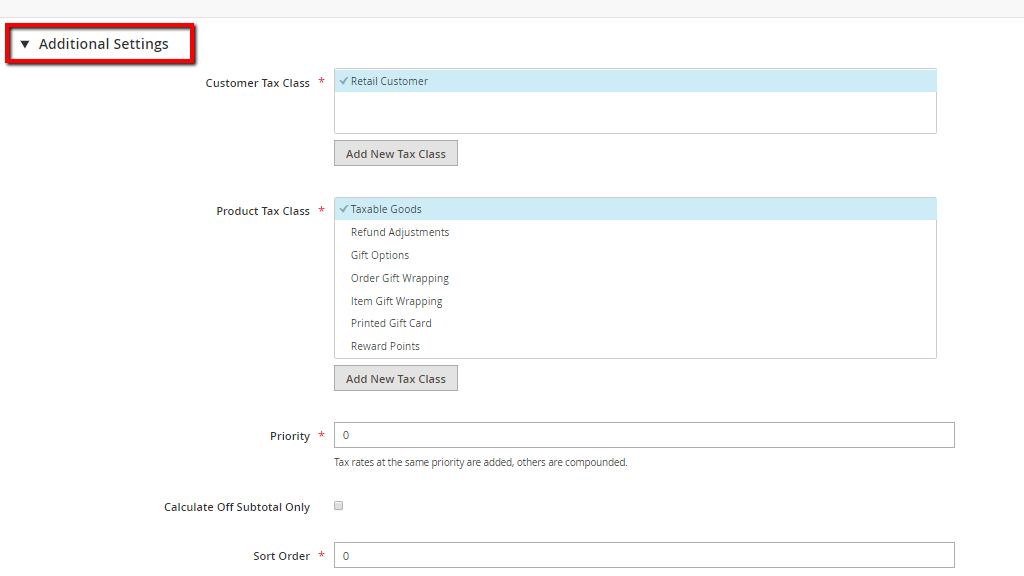
Please, specify the following:
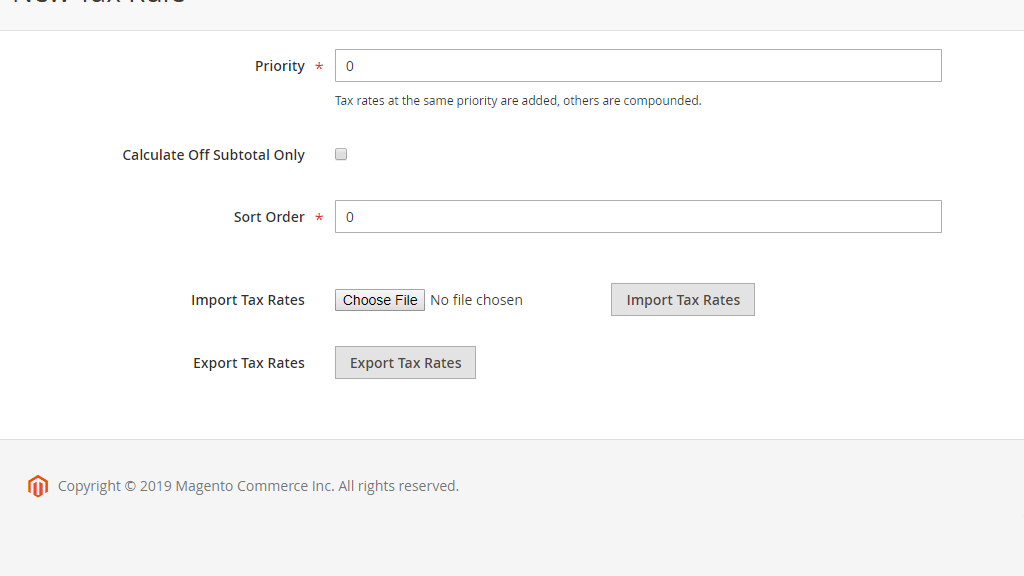
The last two options you will see on this page are “Import Tax Rates” and “Export Tax Rates”. Importing tax rates comes really handy when you have a lot of tax rates and you do not want to add them manually one by one. You can create a spreadsheet in a CSV file format containing the values of your tax rates and directly import it in Magento. Respectively, you can also export your tax rates in a CSV file format if needed.
When you are ready with all of the settings, please do not forget to click on the “Save Rule” button at the upper-right corner of the page.

Now, your new Tax Rule is successfully saved. Even though Magento does not require you to flush the cache when creating Tax Rules, in order to ensure everything will be working properly, please go ahead and do so. You can do that by going to System > Cache Management > Flush Magento Cache.
We will strongly recommend you to test the newly created Tax Rule on your store frontend in order to ensure the tax rates are accurately calculated. Once you confirm it is all working as expected, you are all set.
Hopefully, you have found the information provided in this tutorial useful and our instructions easy to follow. In case you do have any additional questions, please do not hesitate to contact our Support Team.

Sebahat is a young and bright woman who has become an invaluable part of our team. She started as a Customer Care Representative, mastering that role and, along the way, growing into a tech-savvy individual who is well acquainted with every support layer of the company. Driven by her aim to improve our customers’ experience constantly, she is committed to enhancing the extraordinary support we deliver.
Learn more about Magento 2 in the other tutorials that we have:
