
The MX record is a type of DNS record used to show where the incoming mail server of a domain name is located. This record has two settings that you need to configure - the priority setting which is an integer value and the destination which needs to be a valid hostname or a domain. One thing you need to note is that a domain name may have more than one MX record and the one with the lowest priority setting will be considered the main server where the mails will be delivered. We will go over these settings later in this guide and we will attempt to cover everything this feature has to offer so that you can use it properly. Let’s get started!
First, you need to log into the WHM service for your VPS or Dedicated Server. If you are not sure how to do that, please check our How to Access WHM tutorial. After you have logged in, please locate the search bar on the left side of the page and type “Edit MX Entry”.
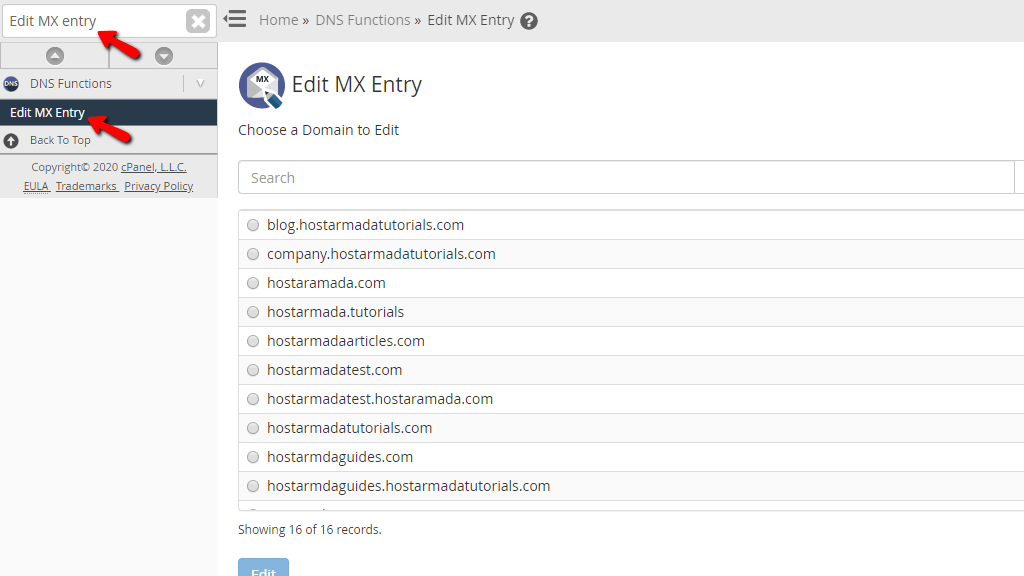
When the functionality shows up below the search bar, please click on it so you can be sent to the “Edit MX Entry” page.
When you click on the first result presented by the WHM, you will be immediately redirected to the “Edit MX Entry” page where you will notice a search bar below the “Choose a Domain to Edit” heading. You can use the search bar to filter out the domains and find the one you want to change the MX records for. Below this search bar, you will find a section containing a list of the domains hosted on your server.
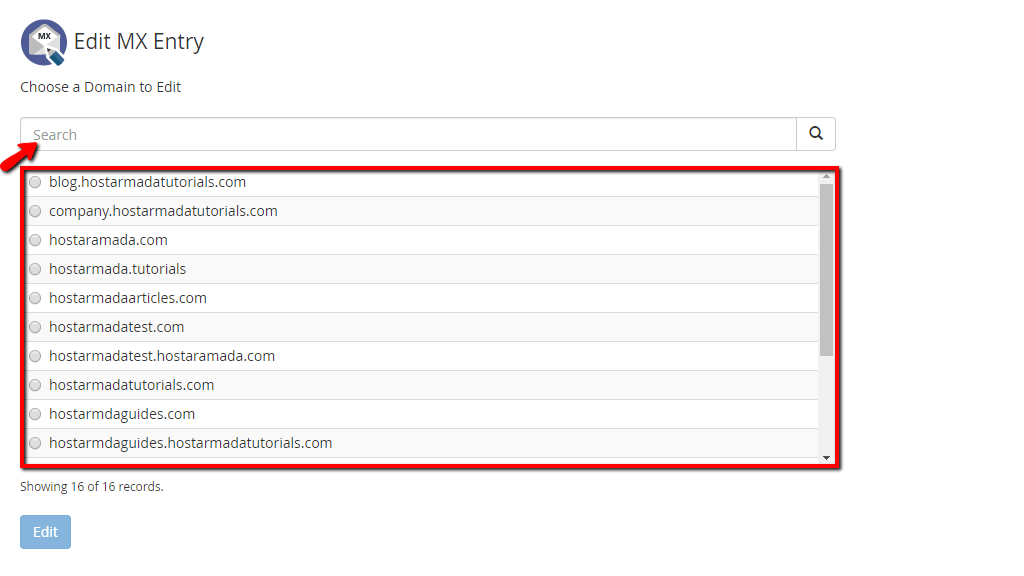
In order to edit the MX record of a domain, please select it with the radio button positioned right before the domain name, and then please press the “Edit” button located below the section containing all the domains.

After clicking on the “Edit” button, you will be taken to a page, where you need to type and configure your domain’s new MX records. On the top of the screen, you will see a text “The lowest numbered MX entry current points to:” which will give you information about the main incoming mail server used by the domain currently.
Underneath you will find the “Email Routing for “domain.com” (The domain is owned by “user”).” heading. Below it lies the settings in regards to Email Routing that may be chosen by using the radio button on the left side of the desired setting. Let's explain what each of the options in that section means.
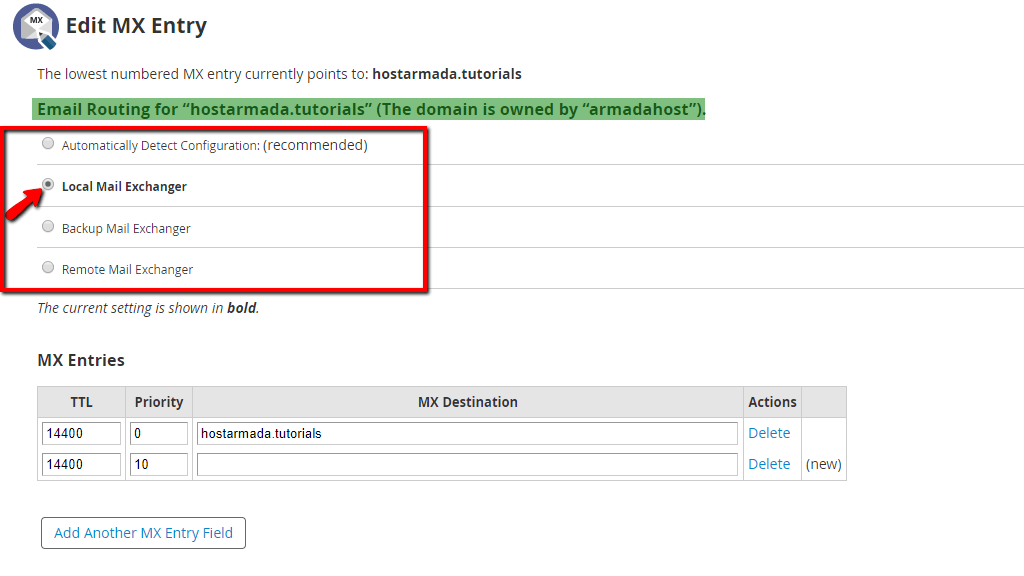
When you have chosen the mail routing, what follows after is the last table section which is where you need to type in the settings in regards to the “TTL” “Priority” and “MX Destination”. Let’s go over what these settings are.
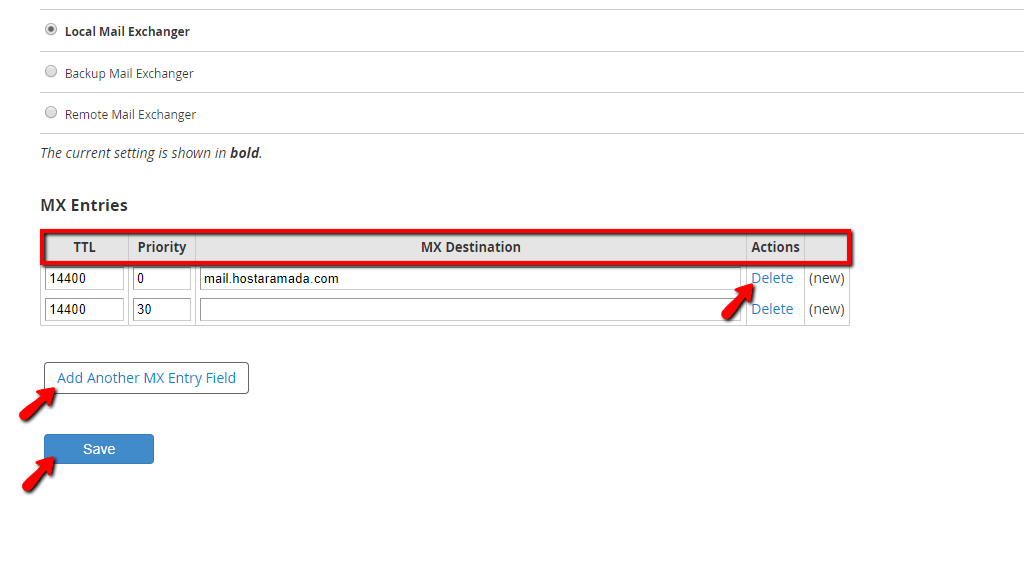
Under this table section, you will also locate the “Add Another MX Entry Field” button, which will let you configure more MX entries for your domain. Moreover, the second to last column within this section will contain the blue “Delete” link, which will allow you to remove any unnecessary records. Once you have completed your MX record configuration, please press the “Save” button, located at the bottom of the page.
Upon pressing the “Save” button, you will be redirected to the last page providing you information about the changes you did. It will show a label that will read “Saved MX for zone domain.com.db”. Below that it will show you the previous record and underneath, the new one. At the bottom of the screen, you will also receive information about the Mail Routing and a small summary of what you can expect from it.

This concludes our guide on how you can change your MX records using the “Edit MX Entry” functionality of your WHM control panel. That was quite a lot of information to go through but we were as thorough as possible so that we can get you well-informed and prepared. If you have any questions or need assistance using this functionality, please, do not hesitate to contact our Technical Support Crew from your Client Area by submitting a ticket.

Sebahat is a young and bright woman who has become an invaluable part of our team. She started as a Customer Care Representative, mastering that role and, along the way, growing into a tech-savvy individual who is well acquainted with every support layer of the company. Driven by her aim to improve our customers’ experience constantly, she is committed to enhancing the extraordinary support we deliver.
Learn more about WHM in the other tutorials that we have:
